ASP.NET Ajax client-side framework (ScriptResource.axd) failed to load.
The status code returned from the server was: 500
Status: 50 The request is not supported
An unknown error occurred while processing the request on the server
asp.net ajax client-side framework failed to load
or

Greetings SharePoint geeks!
The problem
This post is purely created from a little peice of reality. I just experienced this issue myself in a SharePoint setup published externally thru TMG.
It is not entirely easy to troubleshoot, with quite a few components involved, however, I managed in the end and I will here also give you a few hints on how to go about t-shooting something like this.
Anyway, the circumstanses look like all or some of these:
– An internal SharePoint webserver (sp01)
– A TMG 2010 Server connected to the internal network and the internet, used for many more services than SharePoint
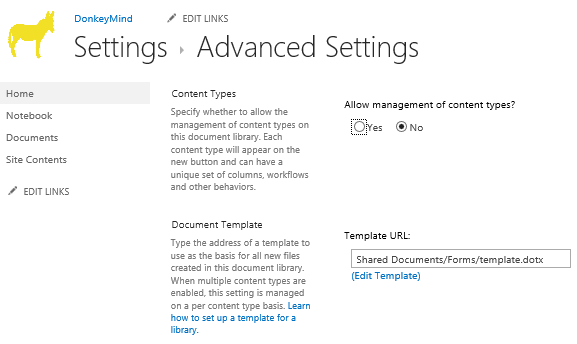
– A Web Application, CollabSite, published using a Firewall policy (from the SharePoint publishing wizard)
– A MySite Web Application also published using the same wizard but a separate policy.
– Both sites are configured to only use https/SSL with a certificate issues by an internal CA.
– An external DNS record pointing both URLs to the eexternal interface of the TMG server.
– Internal DNS records also Points to the external interface of the TMG
When connecting to the sites, mysite.domain.com or collabsite.domain.com from a client on the internet. The site prompts for authentication, the site loads…almost…a popup appears that states:
‘asp.net ajax client-side framework failed to load’
The dialogbox popup

Most of the site loads, you see the blue banner at the top but nothing more.
Reloading the site does not give you the popup again, but soads the site without any of the AJAX functionality, like the ribbon and buttons in the top right area. The ribbon will on some pages show up but it only shows the ‘working on it’ twirl instead of the tools/buttons you would expect.
I will here describe why this happens and how you fix it. But first, I will give you a short version…
Short version
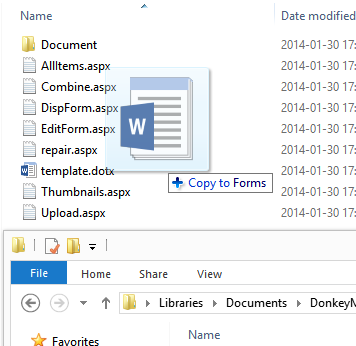
1. SharePoint/IIS offers the ScriptResource.axd files in a compressed format
2. TMG cannot inspect compressed files unless Compression filter/http Compression is enabled
3. Enable the ‘Compression filter’ in TMG under the ‘System’ node
4. Apply, done!
Long version
First we look at what is requested and what is delivered. I use IEs built-in F12 Developer Toolbar, IE later than IE9 will have a Network tab and this allows you to trace the traffic. Same thing if you use Firebug/Fiddler or Wireshark, whatever is available. Browse to the failing site, press F12 and select the Network tab. Here you click on the ‘Start Capturing’ button

This causes IE to collect and show all traffic coming to and from the browser.

The two /ScriptResource GET statements are what fails. This is all that is needed to stop all AJAX functionality, now we know that it has to do with something we do not get down to the browser ok, but why is that, how do we fix it? We need more info to be able to answer those questions.
We can get a bit more info from IE still, select one of the GET lines and click on ‘Go to detailed view’ to see more about the issue.

We get some more info here but not really something that tells us what is going on.
I now tried the same thing from a client on the inside, I added an entry to the local hosts file and added the url and pointed it directly to the IP address of the SharePoint Web Server. With this setup the problem is gone. What this tells me is that the problem is most likely something to do with TMG and how that is configured. Lets take a look.
Logon to the TMG server, make sure that you have permissions to manage TMG.
Since the site at least loads, we have toi assume that https and the publishing in general works as expected. It can’t be all bad.
You will find the logs by clicking on ‘Logs and reports’ in the left pane on TMG.

First add a filter, it should include a filter for:
‘Log record type’ = Firewall or Web Rule
‘Log time’ = Live
‘Action’ != Connection status
‘URL’ contains collabsite (Something that will identify the traffic to your site)
Now, you need to start a Query.
Click on start Query, Then go to your browser with the failing site and refresh the site again.
This should give you something like this in the TMG log

You get a few more pieces of info, but still no real answer to what is wrong…now..it is time.
Now we give up and ask a friend like I did or Google/Bing up this blog post.
Apperantly, this is due to SharePoint ‘offering’ these scriptresource.axd files, which by the way are files that do not exist, they are virtual…anyway, the files are offered in a compressed form, and when TMG is not configured to use compression, it can’t handled files beeing offered in a compressed format, at least that is a more or less accurate explaination to the what happens.
To soolve the issue, yup, it is easy.
| Note! DO not make any Changes to the TMG if it is used in production, most Changes made will or can affect the functionality of other applications than SharePoint. Do this when it fits. |
In TMG, go to the system node in the leftpane

Locate the Filter named Compression Filter and right click, Enable. It has to be enabled in order for TMG to ‘undersdtand’ compressed files…

Now, make sure that the filer shows an enabled state

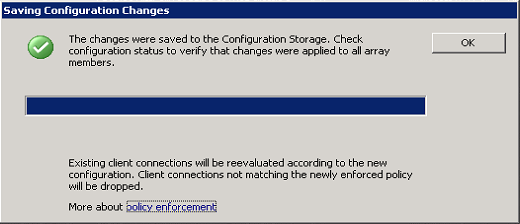
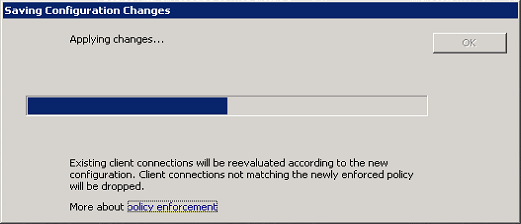
You might Think that the Compression filter is now enabled…but no. You have to apply the Changes to TMG first, do this by clicking on the Apply button

The Apply/Discard buttons show app after you have made any change to anything in TMG. Obviously, Discard does nothing and does a reset on all Changes you have made, Apply makes it real. The Changes are commited.


Now. You should be ok. Check again in the browser. To be 100% sure, Close the browser and start a new one, browse to the address and logon if you have to.
Click on F12, Networking, ‘StartCapturing’ and refresh the browser.

Now, as you can see, the ScriptResource.axd files load ok with a 200 back from IIS. Test functionality and you will see that you have full AJAX functionality restored!
References
_________________________________________________________
Enjoy!
Regards
 Twitter | Technet Profile | LinkedIn