101 ways to share a document.
Fellow SharePoint lovers! (And OneDrive for Business…)

Share the Love
More and more individuals and organizations are starting to realize the beauty of OneDrive for Business, the way it allows you to be always up to date and to be able to always access your information no matter where you are or on what device you are on.
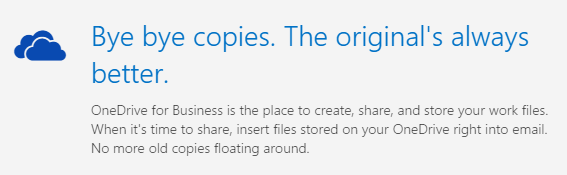
This article will delve© into detail on how you can keep the information in one place, instead of spreading multiple copies and versions around like we have always done using email as the sharing method of choice (Not to mention USB sticks). As you all most likely know, every time you send an email with an attachment of one of your files, a new copy and possible a new version of that document is created, it happens out of your control as well and this is not something that we want, it has simply been the only way to share, externally for sure and internally it has been the easiest way for the lazy.
Now, what has changed? What’s new? What’s so special with OneDrive for Business so that we can share thru some kind of Microsoft magic and files never have to be sent in email? What’s up with that? Well, implementing OneDrive for Business as a part of Office 365 is one step, you can however still work like you always have…removing the old Home directory and the Shared folders is another. You can however still work like you always have, sending attachments using email, but, these steps will allow you and your coworkers to adopt a new way of doing things, a better more secure and controlled way to work.

Traditional sharing, send a copy of the original to each user, same as when printing a letter and posting it…

Modern sharing, one original, no copies. Everyone reads or edits the same file.
As you all also probably know and think right now, there are other cloud services that can do this and yes, I agree, but if you have invested in Office 365 already, then you get OneDrive for Business with 1TB (!) storage for free (or it is included in the price but free sounds better, and compared to using a different service like dropbox or box, then it IS free). You have a single sign on between the different applications in Office 365 and if you have implemented ADFS, then you will even have single sign on from your PC. Yes, I know that storage will be unlimited soon…but honestly, 1TB IS unlimited…
But enough of that, now I will show you where you can share a document from your OneDrive for business.
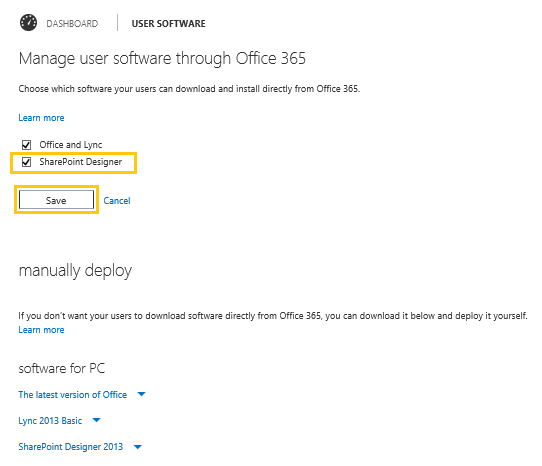
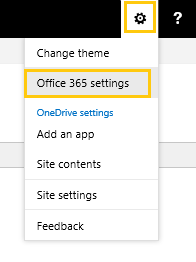
First off, there is a setting that are configured globally in the SharePoint admin portal of Office 365 that we need to know about.

External Sharing, there are 3 levels to select from. Can be set on the tenant or per Site collection. This setting can only be configured by a Global Office 365 Administrator.
The third level means anonymous access…(No! You really shouldn’t)

(Note also that if you restrict sharing on the tenant, then you cannot allow it on the site collection level) When these are set, you can start sharing.
There are a lot of places to do this for the mobile OneDrive for Business user

– OneDrive for Business Online
– OneDrive for Business Offline (from the local cache)
– The Office Applications
– The OneDrive for Business mobile app (Windows Phone, IOS, Android)
– Office Mobile (Windows Phone, IOS, Android) only shares a link, does not grant access
– Outlook Online (formerly known as Outlook Web Access)
It is more or less the same experience everywhere, the web dialog for sharing a document looks like this, from here you can share with internal users as well as external users, and all you need is an email address.
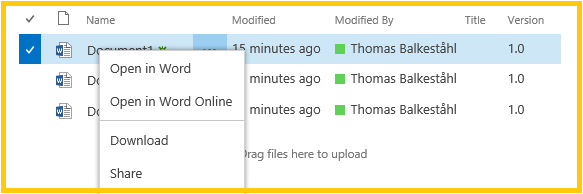
OneDrive for Business Online

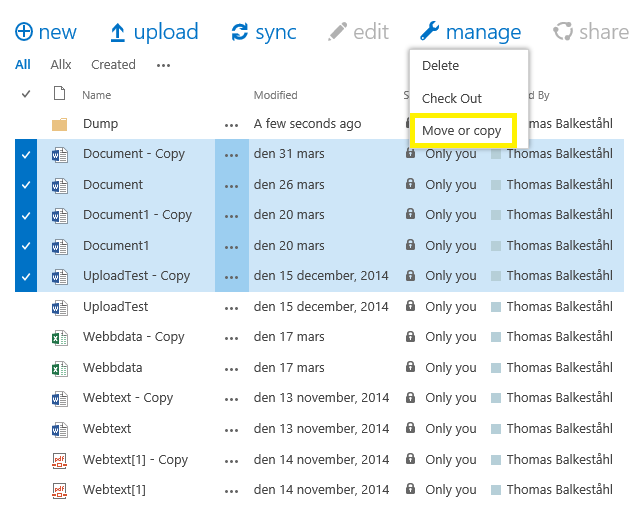
Click SHARE then select how to share, or select the document(s) and click on the Share ‘button’

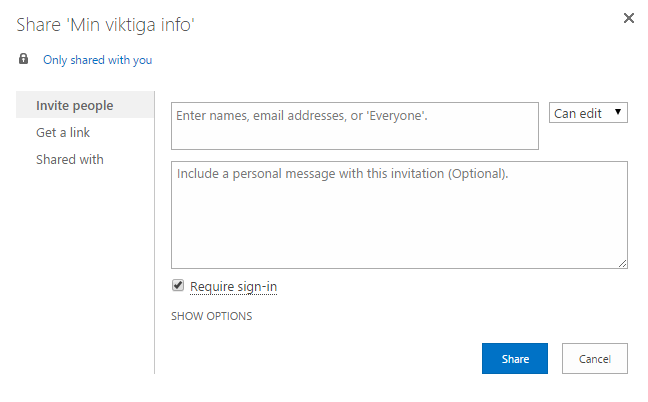
The dialog then looks like this

As you can see, the checkbox for ‘Require sign-in’ is checked by default, unchecking that allows anonymous access to this document.
This checkbox is only available if anonymous sharing is enabled at the tenant and at the site collection level.
The names can be internal users by name or email address, it can be external users by email or it can be everyone.

The permission level can also be set here, they speak for themselves. (Note that sharing with edit allows the recipient to in turn share with or without edit)

You can type in a message, this will be the text in the email that is sent to the recipient

Under SHOW OPTIONS you have the option to not send an email at all.

The recipient receives an email with this content

Clicking the link takes the user straight to the shared file, in its location.
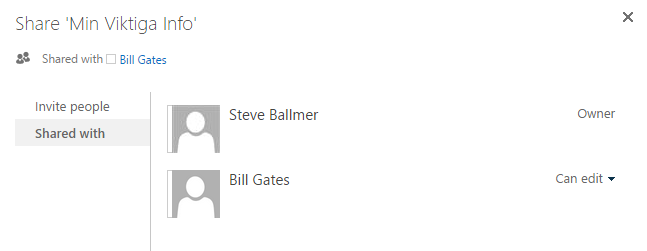
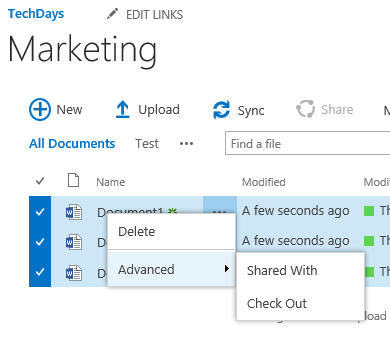
Under Shared with, you can see who currently has access to this document.

When a document is shared, you can also see that the little user icon is replaced to show that someone else besides you now also has access to this document or this file.

Unshare the file again by clicking on that icon and in the Shared with dialog, select Stop sharing and save Changes.

After a quick refresh, you will see that the little icon is back to the Padlock.

This is how you share things in the OneDrive for Business Online, it is very similar in SharePoint Online (A few exceptions like unsharing differs).
The rest you will know when you see them:
The OneDrive for Business Offline (from the local cache)

The Office Applications

The OneDrive for Business mobile app (Windows Phone, IOS, Android)

Office Mobile, Word, Excel, PowerPoint (Windows Phone, IOS, Android) only shares a link, does not grant access

Outlook Online (formerly known as Outlook Web Access)
Select INSERT

Select Share with OneDrive (They really should stop confusing the business version with the consumer version…)

Apply the proper permission level, read or read/write


Note that the file is not sent as an attachment unless you specifically choose to do so. It only looks like an attachment, the file never leaves your personal OneDrive for Business.
And, to sum it all up, a message from inside Outlook Online:

‘
References and Credits
None at this time…
Credits & many thanks to
‘
LabCenter – you guys always publish my articles!
Mattias Gutke at Xperta
My family.
_________________________________________________________
Enjoy!
Regards

Twitter | Technet Profile | LinkedIn


 _________________________________________________________