First release can now be offered to a select group of users!
(Including a funny mistake by a Microsoft developer)
‘
 Life made even simpler for the admins
First release has until now been something that you do not want to enable in a production tenant for the organization, because the impact can be to big with untested changes and additions made regularly.
The common option for the administrator thirsting for knowledge has been to create an evaluation tenant and enable First Release there.
Cumbersome and difficult…is what that was!
A drawback has also been that you could not test anything with the real users, real data or real life scenarios.
No more so, now, the option to enable First Release for only selected users are available.
This is how you do it:
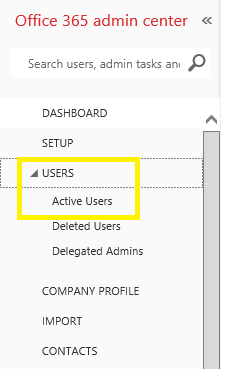
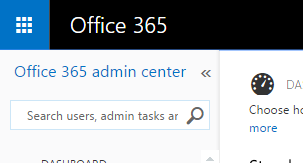
1. Log into your tenants Admin portal: https://portal.office.com/admin/default.aspx
2. Go to Service Settings, Updates.
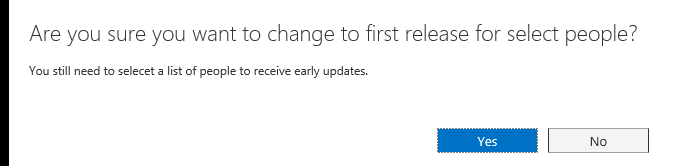
3. Under First Release, check Select People, you will get a popup asking if you are sure, click Yes.
4. Locate the users you want to set as first release users.
5. Select the users in the box below and click on save (It does not have to be administrators).
5.5 Bulk update (You can also create a list of UPN’s and sumbit it as a bulk update.)
6. Done!
7. Undo
In Pictures:
1. Log into your tenants Admin portal: https://portal.office.com/admin/default.aspx
2. Go to Service Settings, Updates.

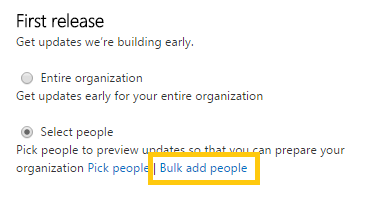
3. Under First Release, check Select People, you will get a popup asking if you are sure, click Yes.
(Entire organization is the old choice, this affects everyone in the tenant)

Like I said, select Yes in the popup dialog.
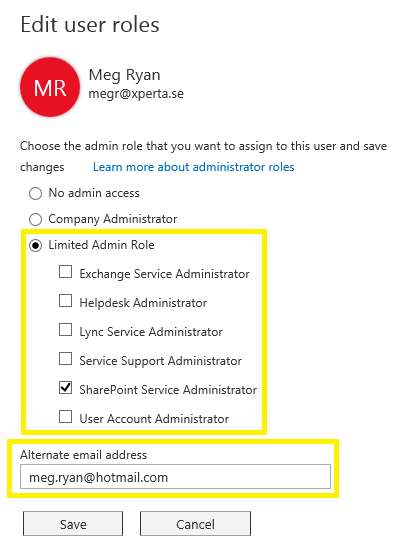
4. In the dialog to your right, search for the user/users you want to set as First Release users.

a. Start typing aname to search for the user…

b. Located users are moved to the userslist.

c. Select all users in the list.

5. Select the users in the box below and click on save (It does not have to be administrators).
(You can also create a list of UPN’s and sumbit it as a bulk update.)

You do not get any conformation that it is changed, but it is.
5.5 Bulk update
For a bulk update, do this:
a. Create a list of the users UPN’s, User Principle Names (i.e. Emailaddresses) and save it as a textfile (.txt)
The file can named anything and can be saved anywhere you like.

b. In the Admin portal, Service Settings, Updates, Click on Bulk add people
c. Browse to your userlist
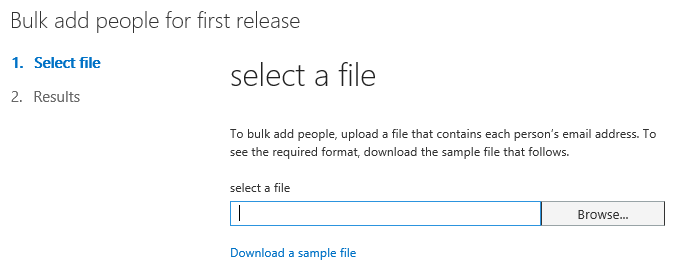
d. Select the file and click Open
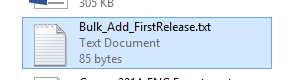
Note the path…(someone at Microsoft made a mistake…\fakepath\ ??). The path shown does not matter, it will work, trust me!

e. Now click on Next to finish

f. As you can see, the result is shown in the resultlist, success and fail are listed. You can also get a view of a very simple logfile.
Click on finish when you are ready.

Bulk import Done!
6. All Done!
7. Undo
To reset the tenant and go back to noone having first release, do this:
In the Admin portal, Service Settings, Updates, Click on Standard

Agree to the popup

And you’re back to normal!
I’
Credits
Niklas Danell, Microsoft Sweden
Erik Fryksén, Xperta AB
References
Microsoft Support on the First Release options
‘  _________________________________________________________
Enjoy!
Regards
![]()